Category Archives: making

Reflections: a Photoessay

I’m fascinated with reflection. Both the mental version and the physical version. Reflections appear in many surfaces…mirrors, metals, through shade and shadows…and in my favorite medium, water.

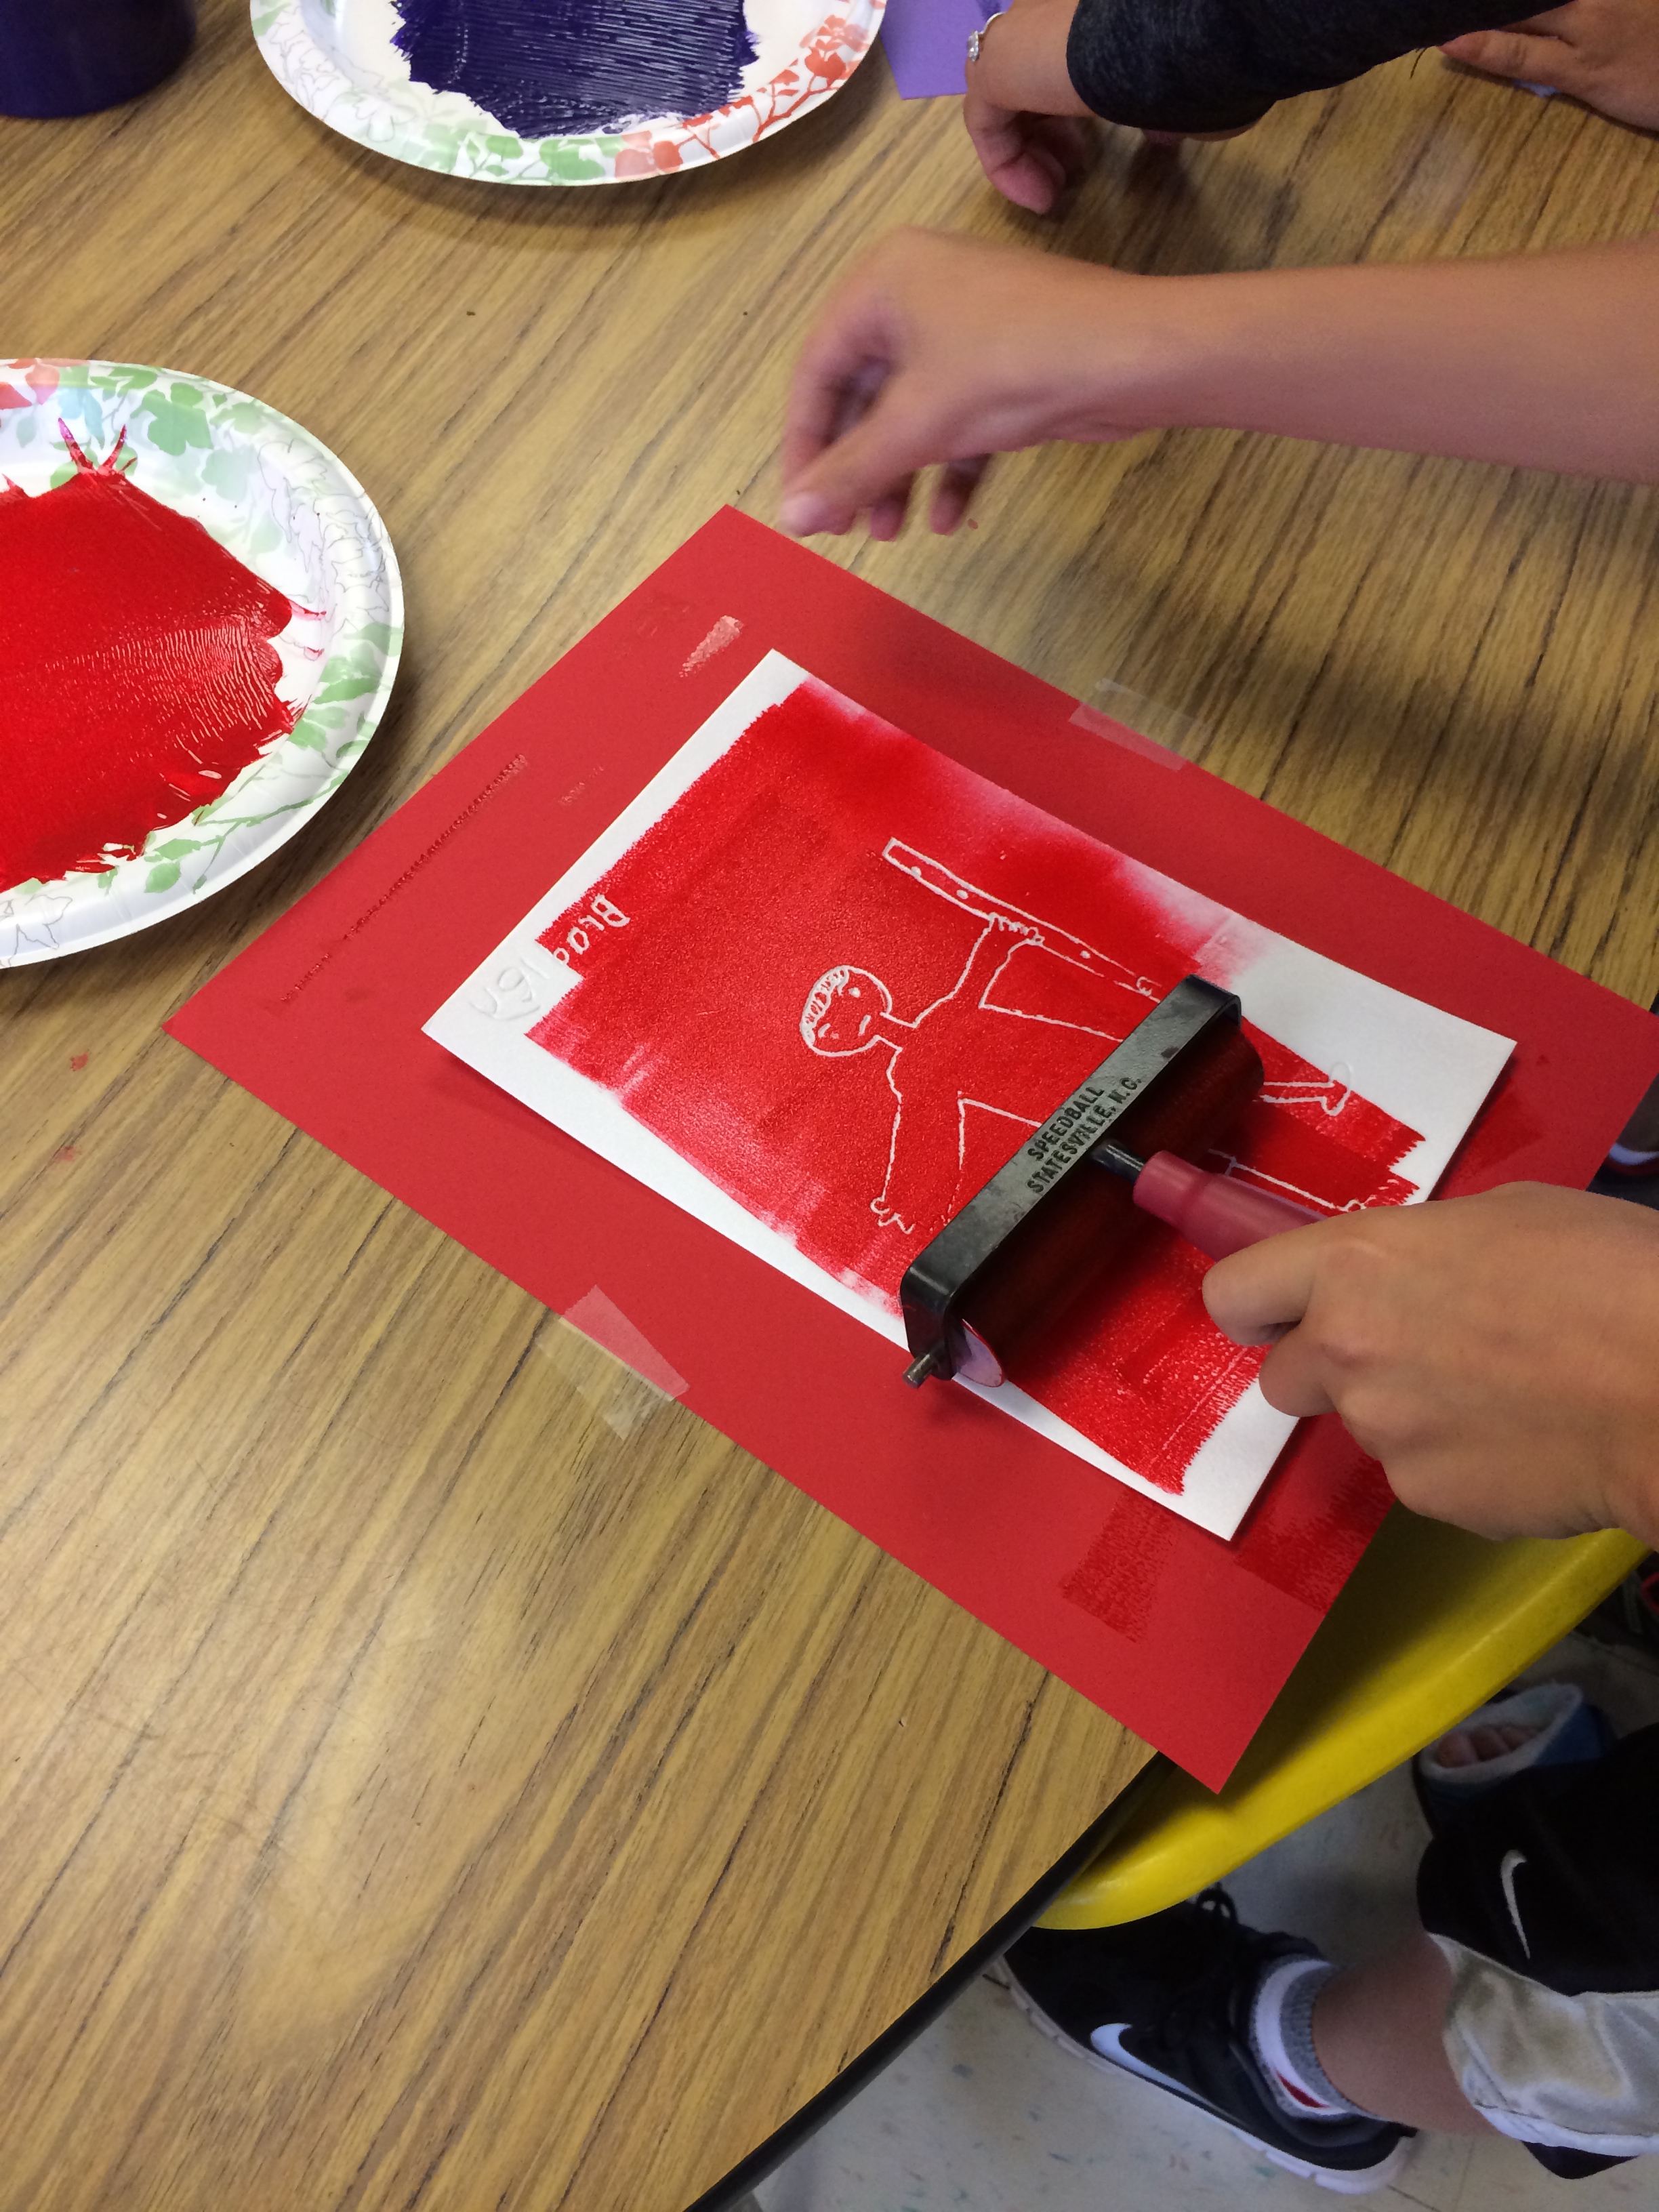
I love the idea of the way water captures the way reflection works with learning. Reflecting is a way of reinforcing and internalizing your learning. Taking time to think about why the learning matters and making connections to other experiences enriches learning.

Reflection is not the literal mirror image of seeing exactly what you experienced. Instead, reflection is the processing of experience. Like with peering into water, everything around you impacts the learning. The wind, the current, the life within the water…even the angle you take when you take a look.

I also love to play with reflection in my photographs. Sometimes I intentionally look for ways to capture reflection, but more often than not, I notice the reflection after taking the photo.

Here are a few of my favorites…

I love to capture birds on the beach.

20131110-204452.jpg

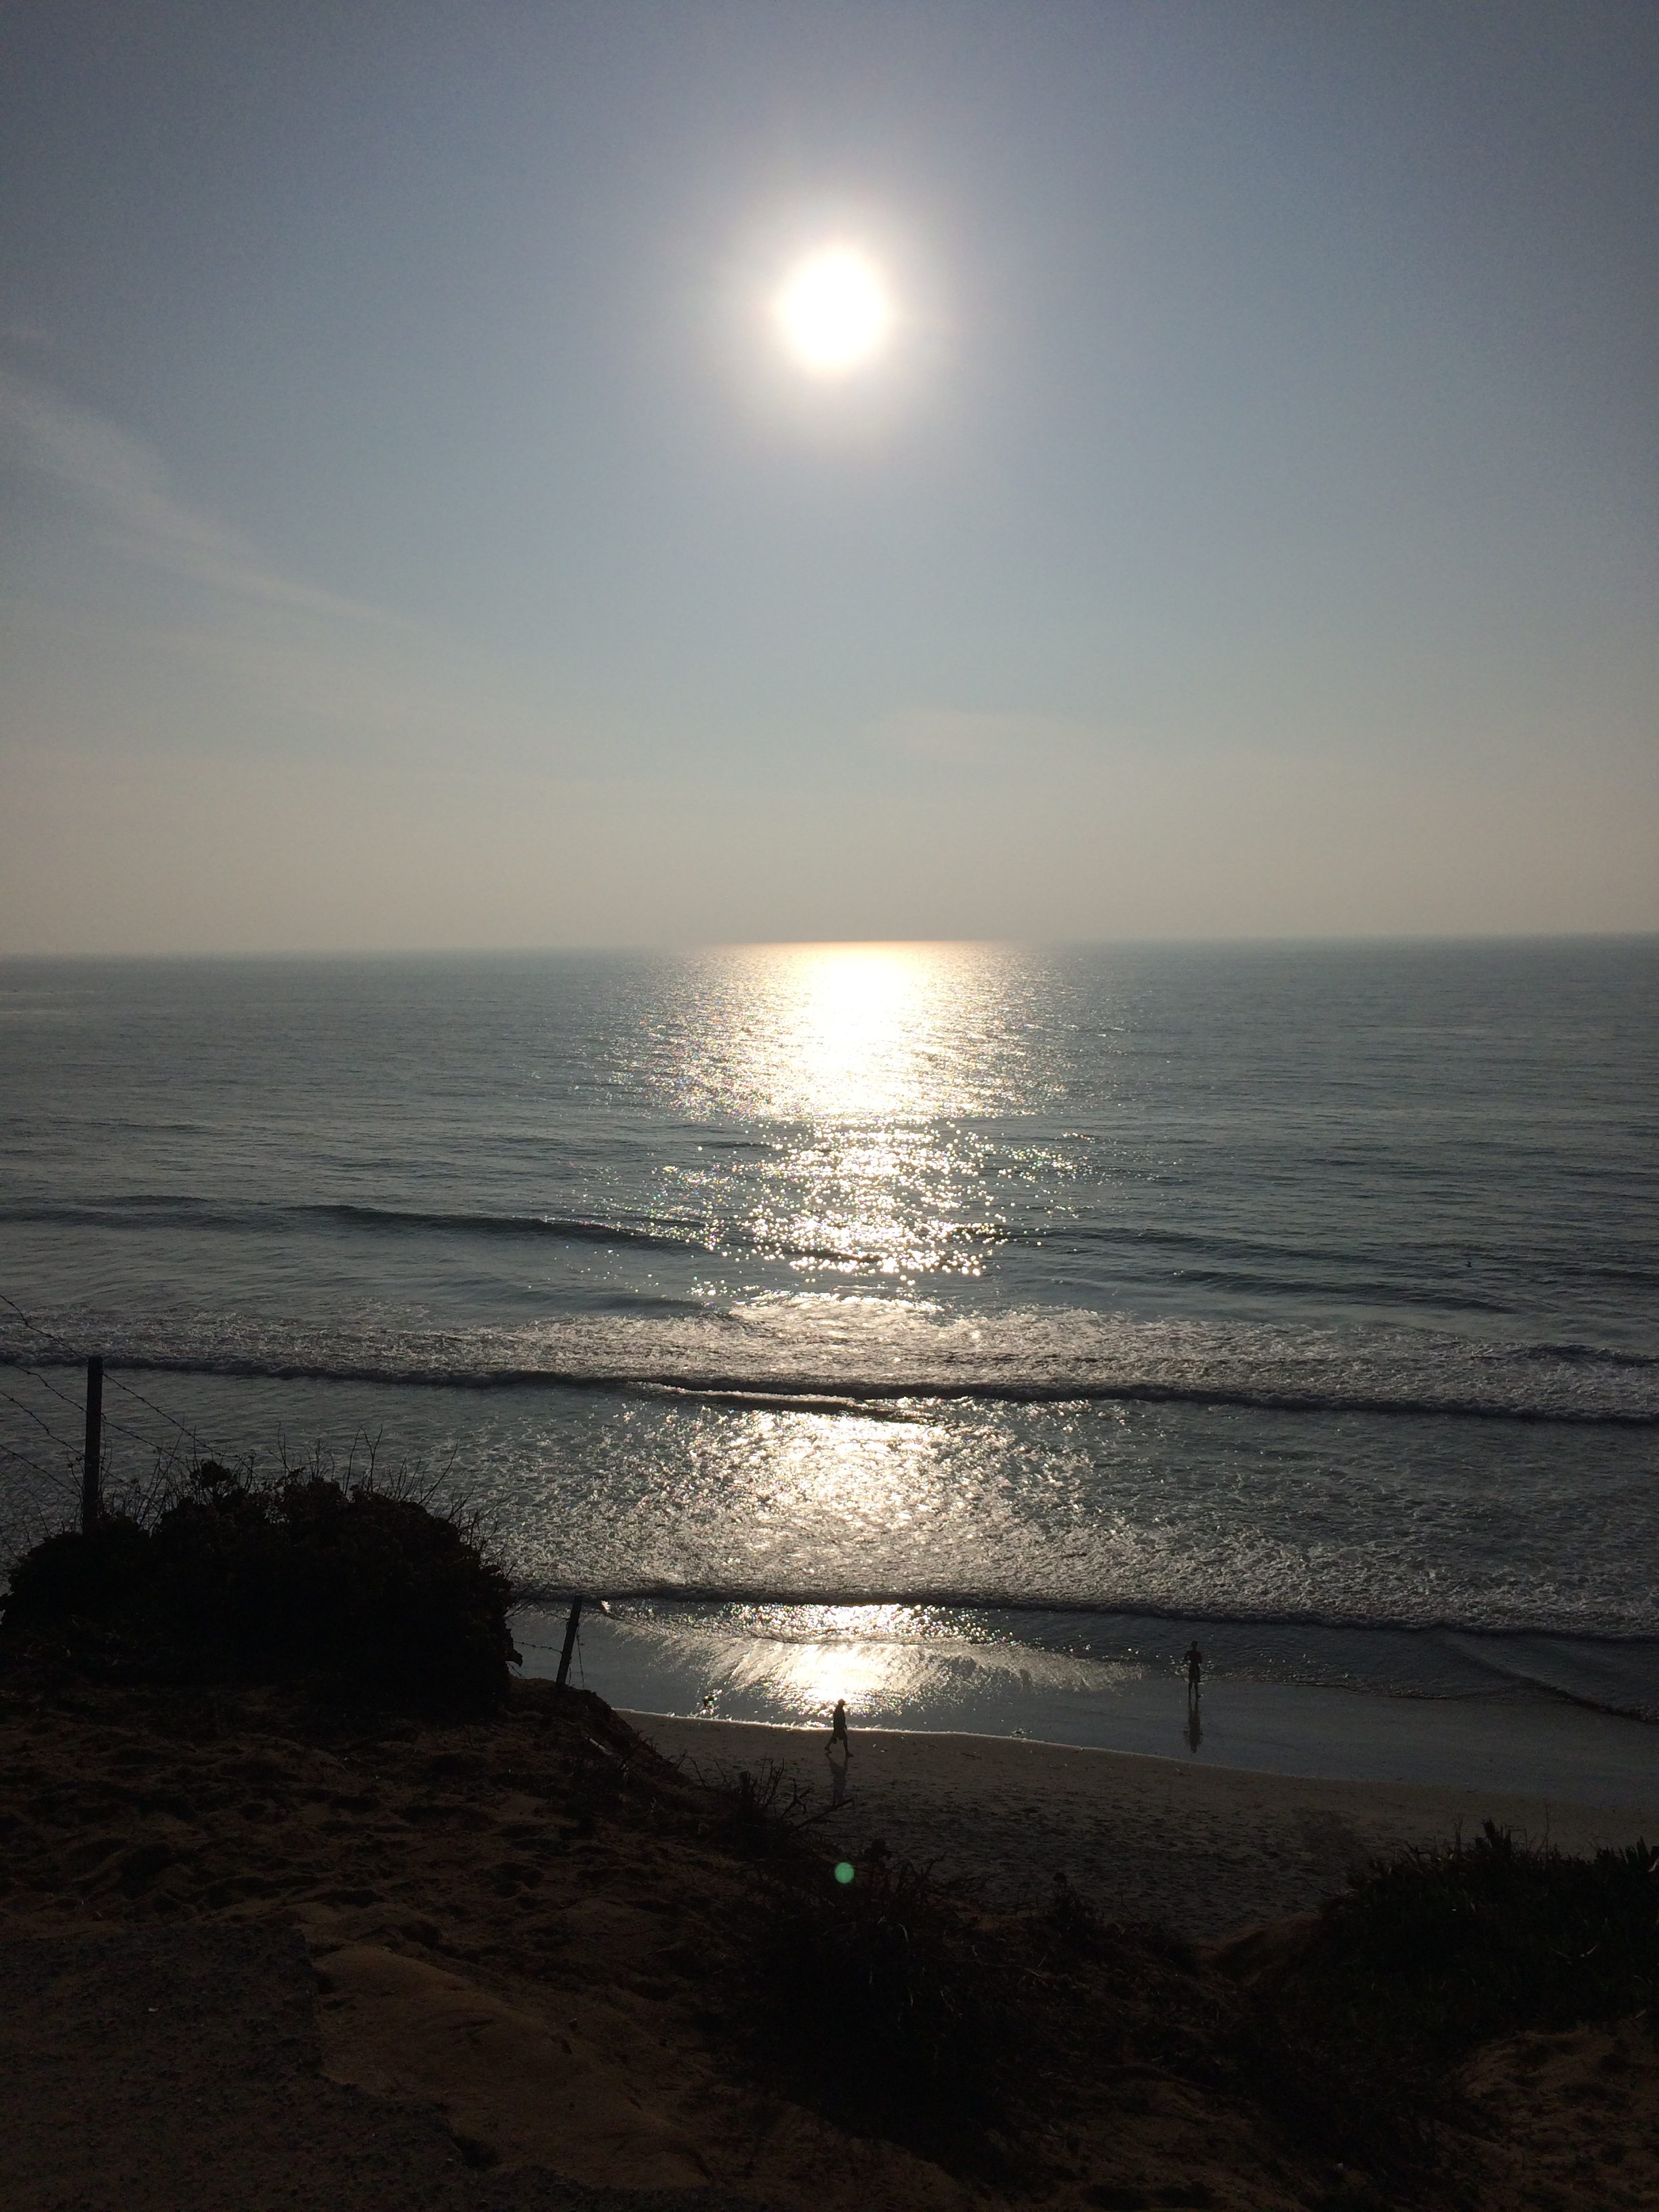
And the surprise of the cliffs reflected when I was trying to capture these birds.

20131110-204641.jpg

This fisherman has such a feeling of timelessness and captures the quiet and solitary beauty of individual focus.

20131110-204836.jpg

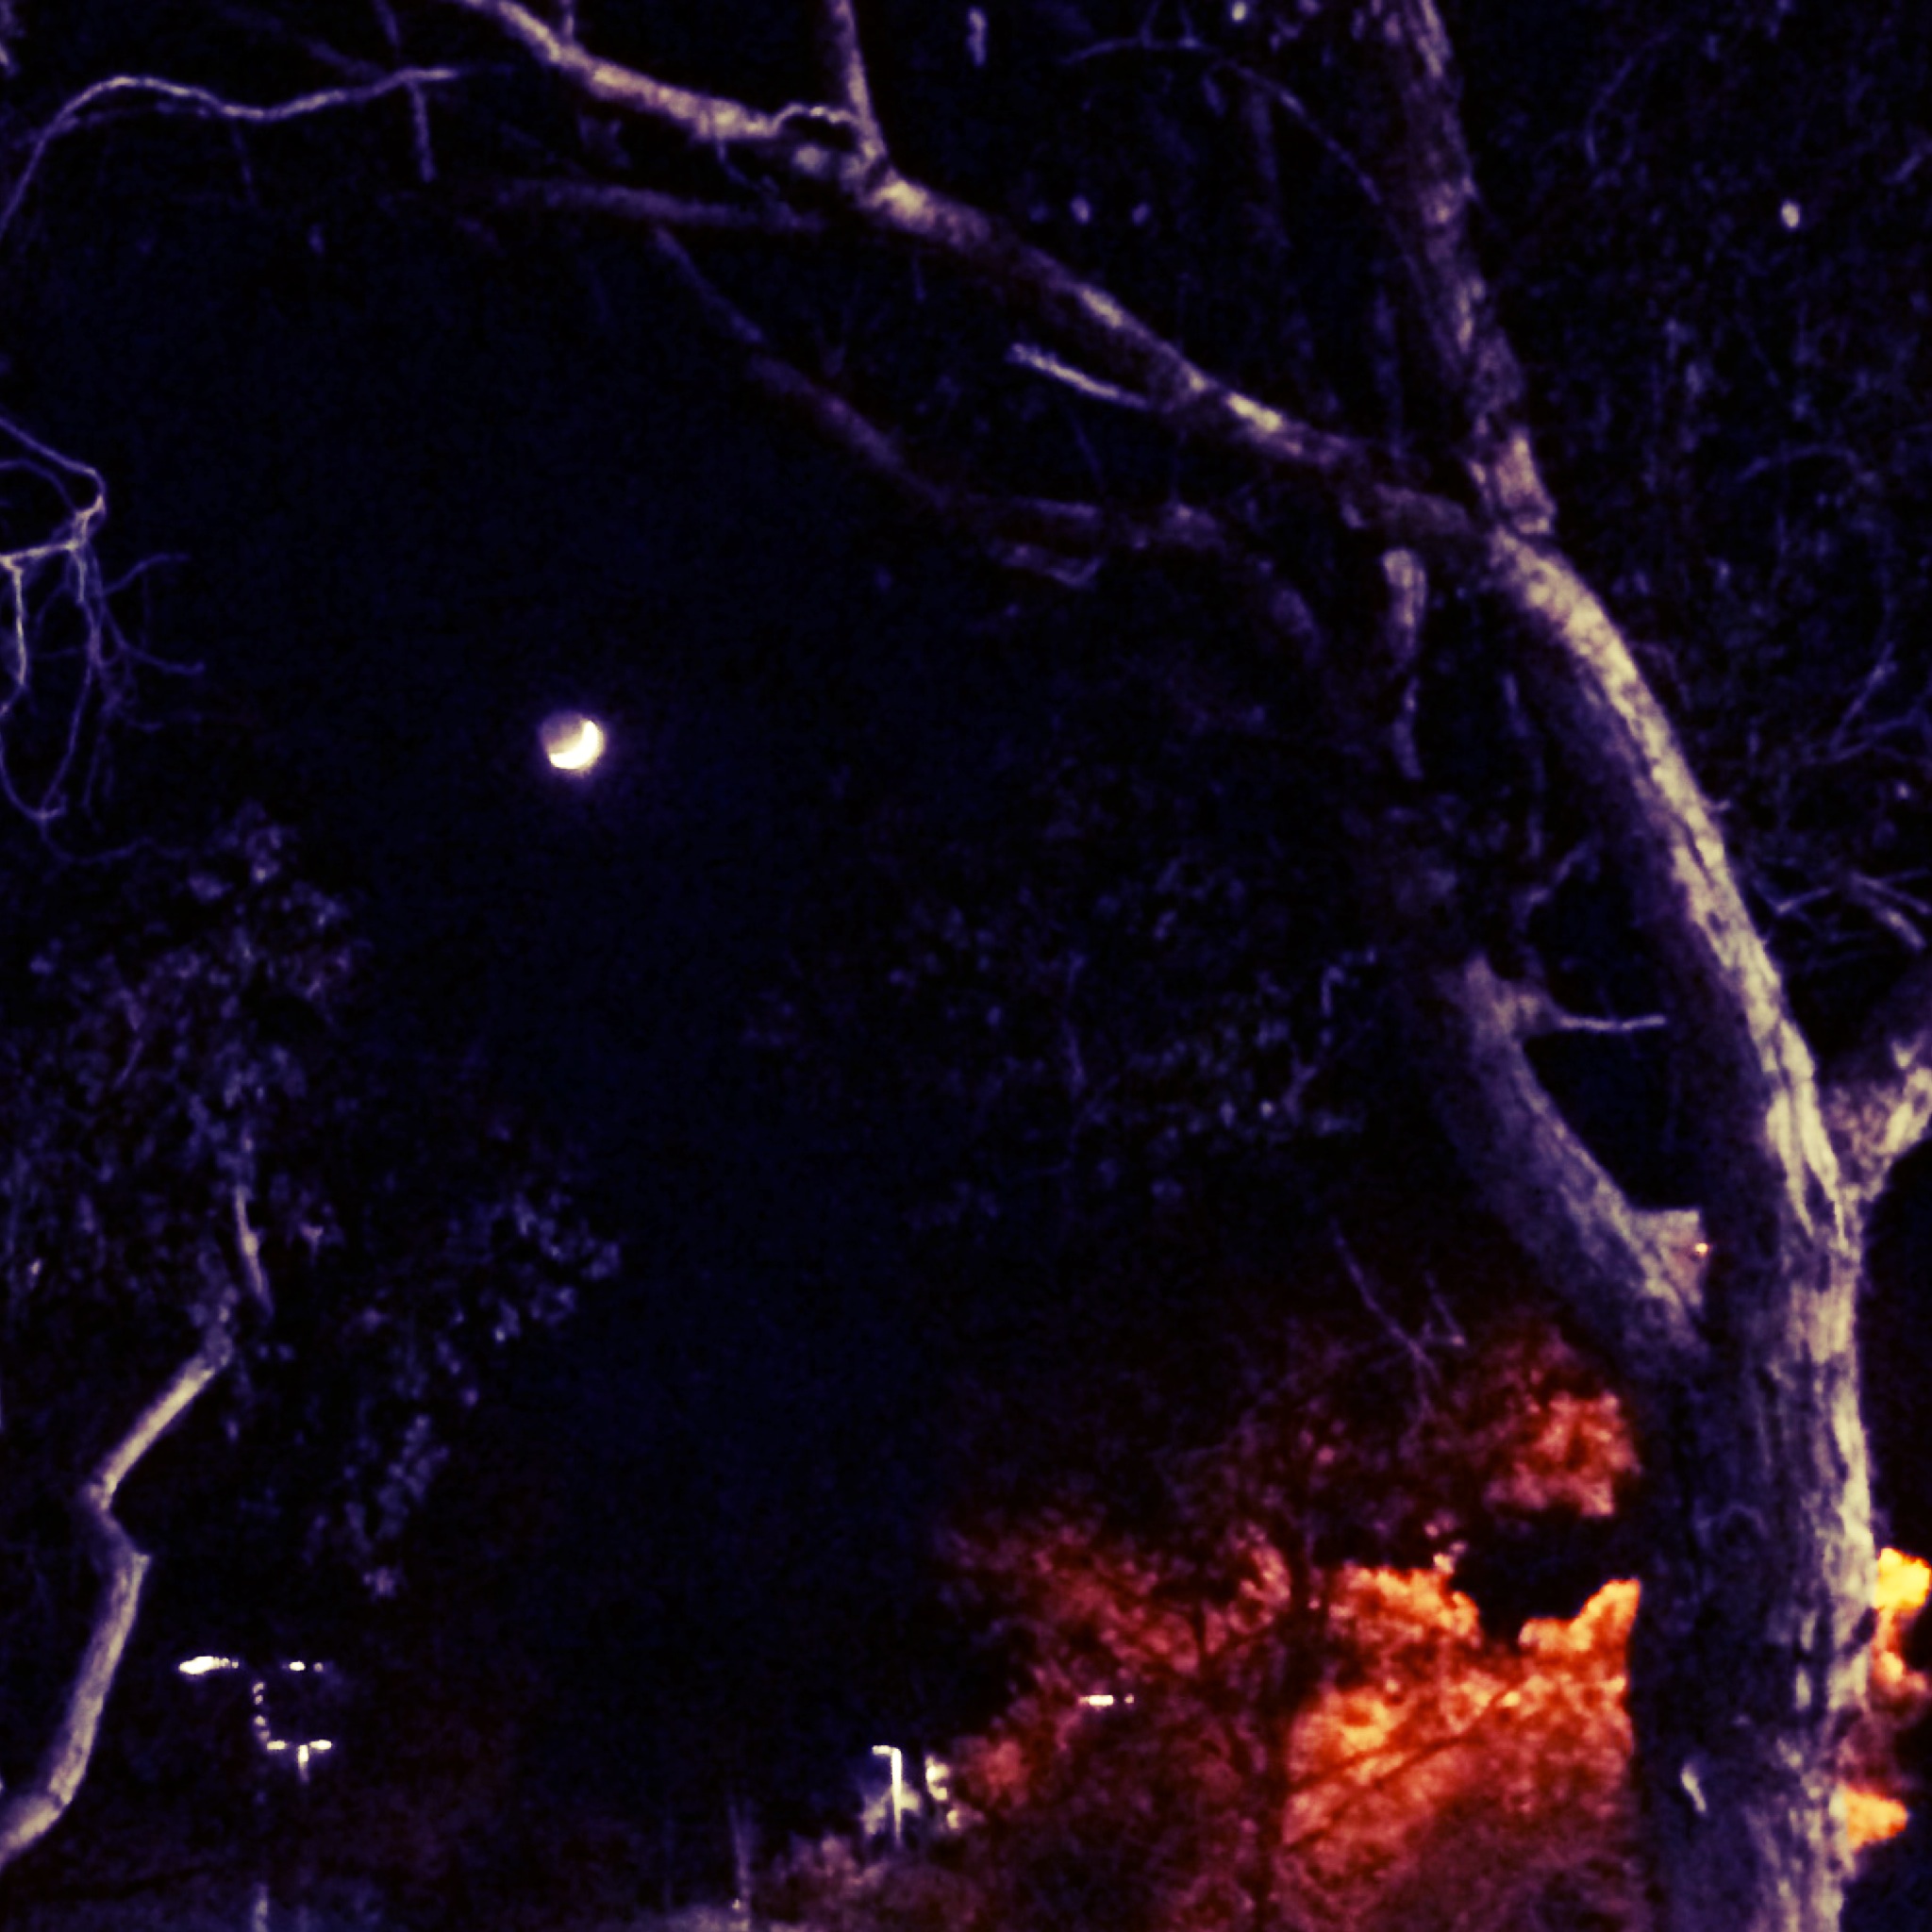
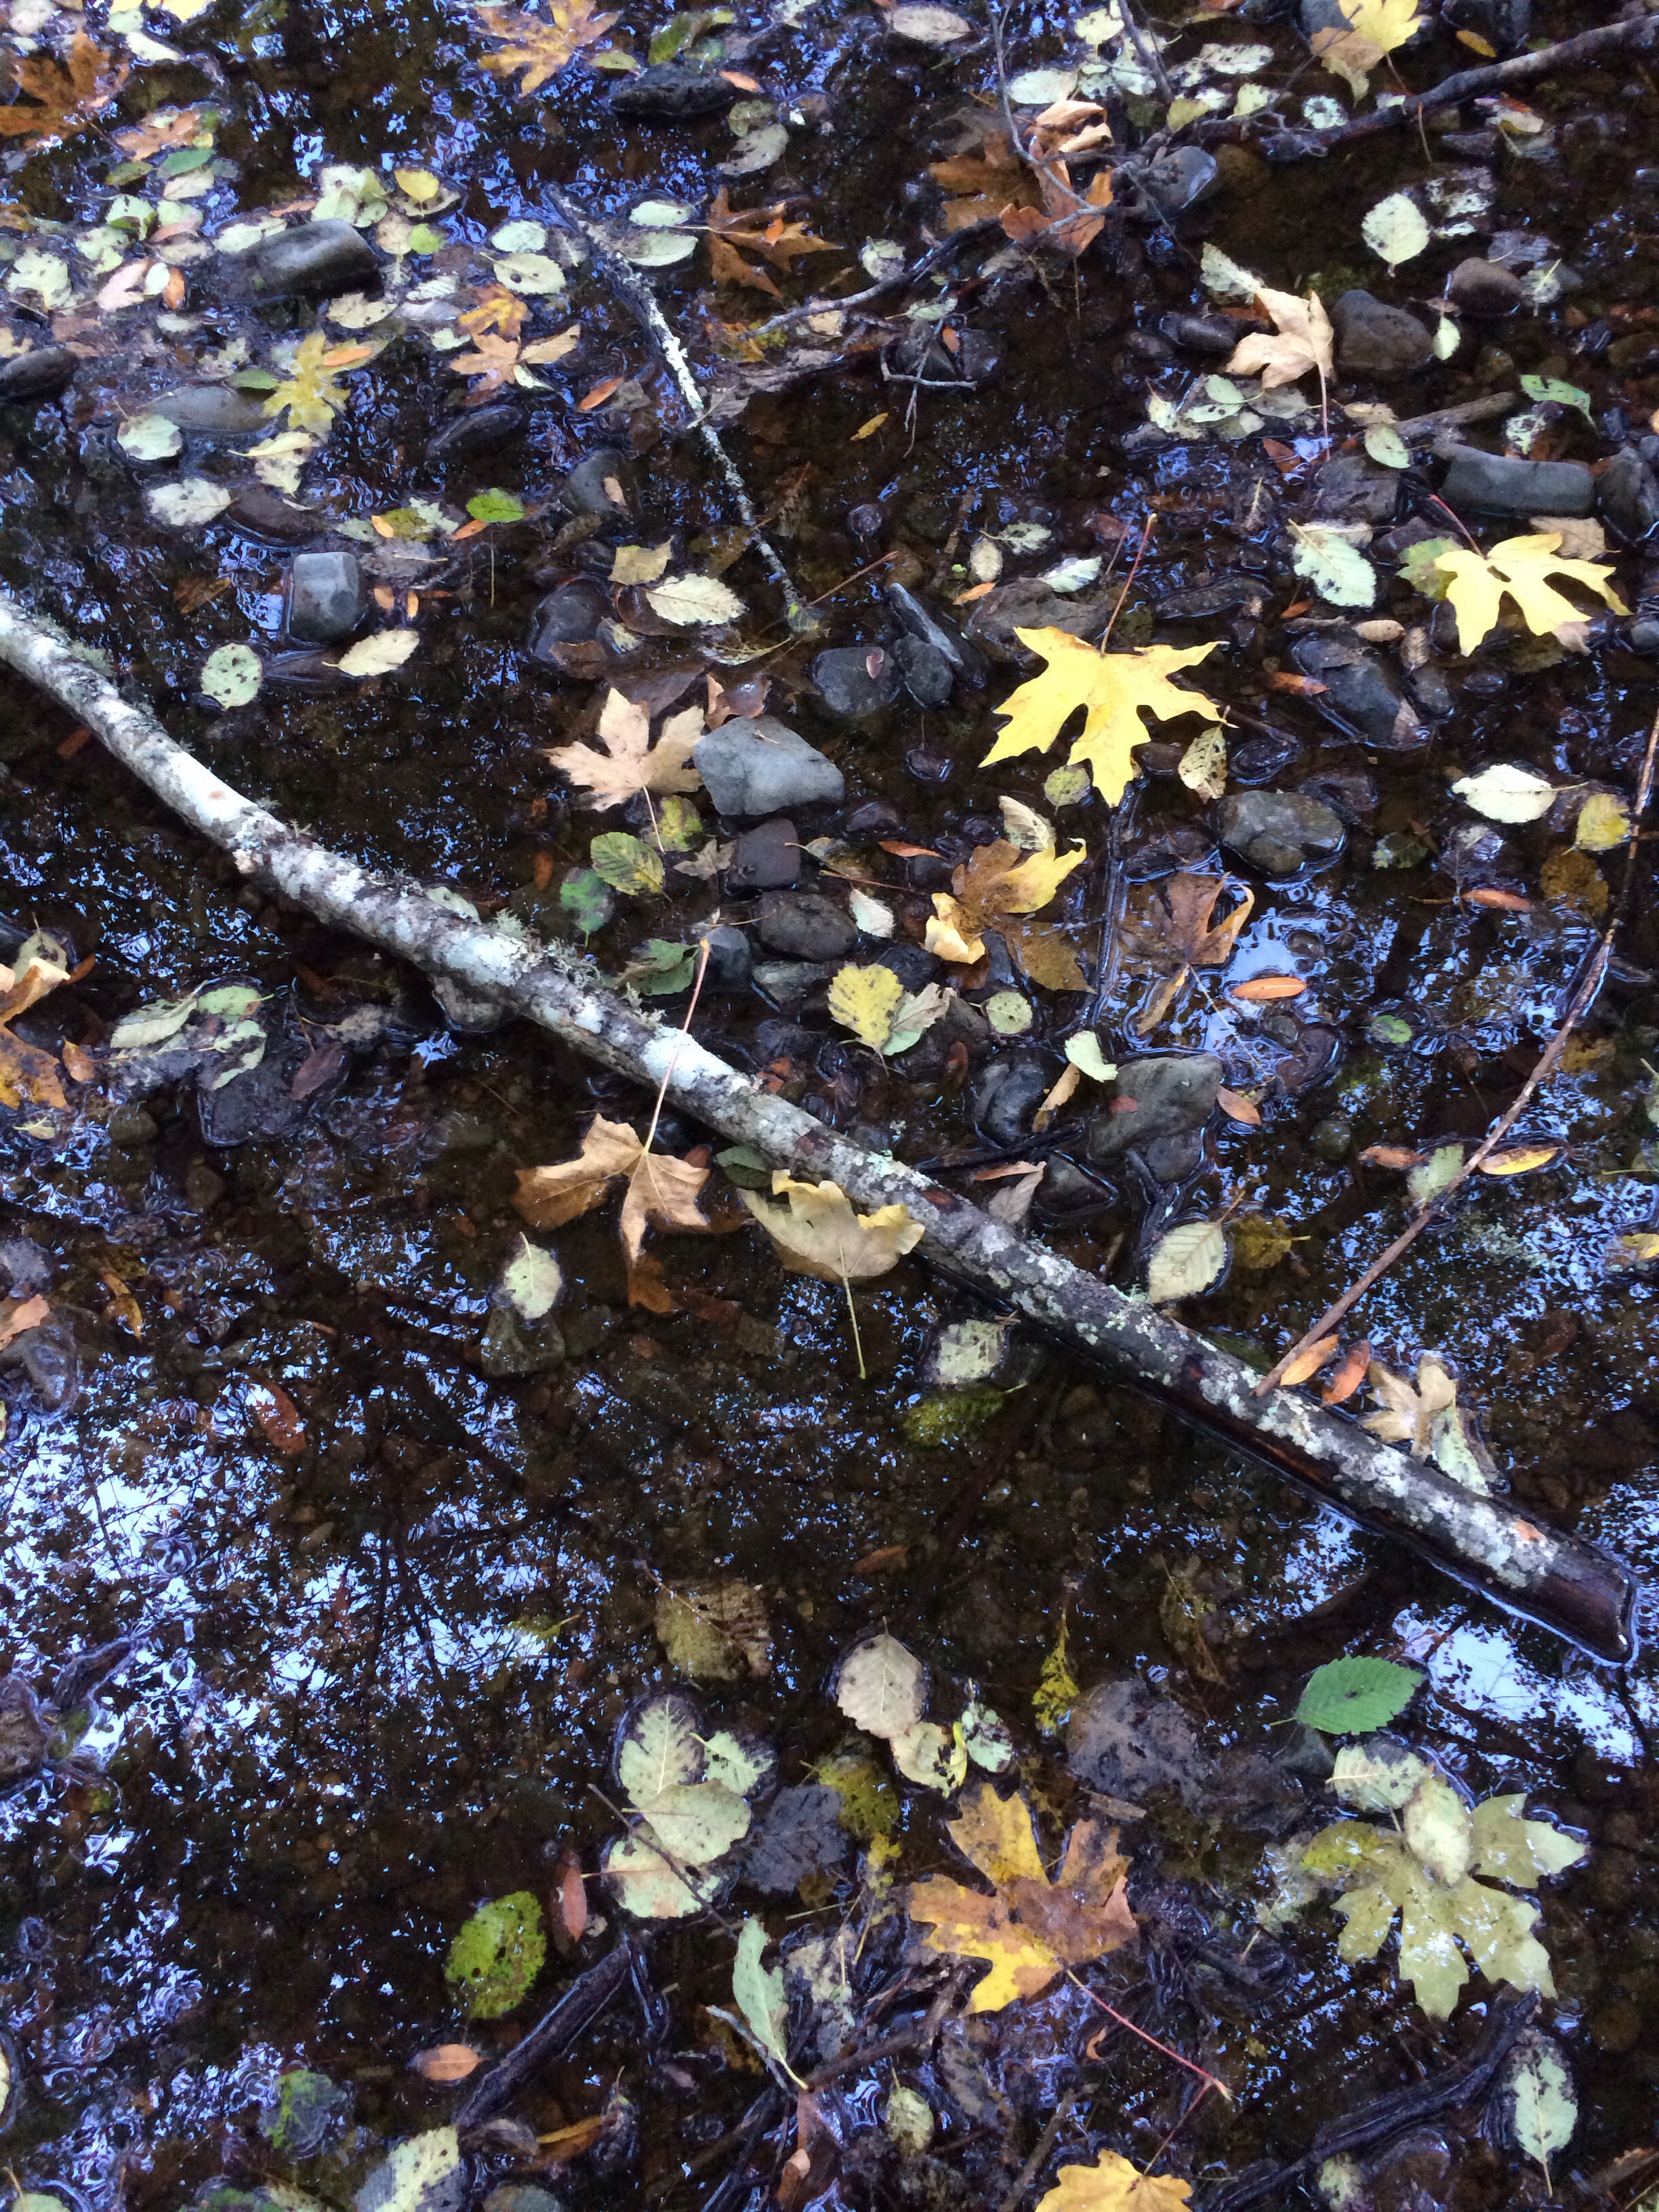
And I’m not limited to the beach. I love the ways the redwoods are captured in this stream. (I also love the colors of the fall leaves floating in the water!)

20131110-205147.jpg

And even at the zoo there are opportunities for reflection!

20131110-205311.jpg

These photos remind me that taking time for reflection matters. There is beauty and meaning in looking back to look forward. I’m reminded to pay attention to the angles, to consider the environment, and to be aware of the life within…in my photography and in my life.

How do you make time for reflection? Do you create opportunities for your students to reflect?

One Photo, Three Ways

When daylight savings time ended early Sunday morning, our daylight hours also shrunk. Instead of getting home with some daylight left, it is now dark.

As I left the university this evening, it was already dark.  Looking into the dark, evening sky I noticed the beautiful fingernail of a moon.  Even knowing that my iPhone doesn’t take great pictures of the moon, I couldn’t resist pausing to take a shot.

photo_3

When I got home I thought I would play with this image (which was better than I anticipated) using the app Tadaa.  It has some interesting filters that work particularly well with playing with light and shadow.

Here’s a dark version:

photo_1

I like the way the trees frame the moon in the distance and the reds and oranges are nested in the foreground.  I couldn’t resist trying one of my favorite filters, otherland, and was surprised when it turned my dark, nighttime image to white.  I love the way the moon is silhouetted in the white sky.

photo_2

The filters dramatically change the mood and setting of this photo.  Each tells a different story by a simple change of the filter.

What stories do you see in these images?  I hope you’ll take a few minutes to write your ideas in the comments here!

More Adventures in Coding

It’s Halloween…the perfect day to continue our adventures in coding with our first, second and third grade students!

And thanks to Mark, our ed tech guy, the kids had the advantage of having someone other than their regular teachers reinforce their initial learning and suggest some next steps.

We returned to Beebot today.  Our students love this friendly bee that responds to their fingertip commands.  And it becomes the perfect vehicle (pun intended) for reminding them that programmers have an idea in mind for their code.  Today’s challenge:  can we make Beebot travel in a square and return to where he began?  (The answer was yes!)

photo-4

And then we transitioned to Hopscotch.  And our students were in for a treat!  Hopscotch characters were dressed for Halloween today…a special Halloween update.  (The room was electric as the students discovered this new edition on their iPads!)

Mark guided the students as they matched the commands they used on Beebot to the blocks on Hopscotch.  And they carefully coded their first character to make a square.

photo_1

As you might expect, there were a few glitches…a perfect opportunity to do some “debugging.”  And then we all tackled making a triangle.

photo_2

That was a bit harder.  And some students figured out if you used the repeat block, some interesting triangle designs resulted!  And here is the basic square and triangle we aimed to code for today.

photo

I hope students take away the value of being able to make the characters do what they want them to do.  This planning is not to get in the way of “happy accidents” but instead to help students do more than move blocks and push play randomly.  I know that many of our students can hardly wait to create some more triangle designs.  Our next invitation might be, what picture can you make with triangles and squares?

The Halloween costumes will go away the next time we update the app…but I hope the lessons learned on Halloween will remain…and become a platform for continued learning. I know I learned a lot today and am more interested in programming than I was before!  I can’t wait to figure out what my students (and I) will do next!

A Study in Black and White…and Shades of Gray

I was reading a post on another blog yesterday with tips about black and white photography.  The person who wrote the post talked about “seeing in black in white.”

When I look at black and white photos I don’t see them as black and white at all…they seem all about shades of color ranging from dark black to gray to white, and all the variations in between.  The subtle shading creates a sense of depth and lets light and shadow play.

I frequently edit my photos and apply a black and white filter.  I love the sense of timelessness that black and white gives to certain photos.  It seems that there is a story-telling quality, maybe the lack of color invites each person to interpret the photo based on their own experiences.

These yellow pencils from my classroom look great in black and white.  It’s easy to colorize them in your mind when you look at the photo.

pencils

And I love the ways my students hands look in this one.  Even without color you can see the sun shining…and focus on those little hands holding even smaller seeds.

hands

Who would guess I took this picture of a fisherman on an urban beach in 2013?

fisherman

I think I liked this crow better in color.  The green leaves made the crow more prominent…it’s hard to make him out in this one.

crow

This one of the horse might be considered cheating.  I didn’t go all the way to black and white.  I just faded the colors a bit.

photo-3

And this is one of my favorites…my cat Phil.  I do lots of photos of him in black and white…he is a black and white cat, after all!  This photo is interesting because the color version looks quite similar.  A black and white cat in a white box with black print is already mostly black and white!

photo-2

The term black and white often makes me think of either/or.  But black and white photos are more like real life…built in shades of gray with plenty of room for interpretation and meaning making.

Which of these photos speaks to you?  How does the black and white impact your visual experience?

Horizons: The Edge of Learning

Today’s Weekly Photo Challenge on the Daily Post is about horizons…that place where the earth meets the sky.

photo-2

And as I headed to the beach to capture one of my favorite horizon vistas, I found myself thinking about the comfort of familiar places like the beach…and the stretch of reaching for new horizons.

In some ways my horizon photo this afternoon represents my feeling of reaching for new horizons and feeling the “edge” of learning as I work with my students to learn computer programming.  There’s that sparkle and shine and thrill of the new along with the hazy sun and encroaching marine layer representing all of the unknown and uncertainty.

Today a parent in our classroom came in and shared his work as a video game programmer with our students.  He showed us a few of the games he has made…

photo_1-2

the first with a team of three including him.  The most recent included a team of 1,000!

Then he helped to connect this work that he does with our work on Hopscotch (an app), built on the shoulders of Scratch (a program developed at MIT).  He showed us a few kid-made Scratch programs and had the kids make suggestions for changes.  In a matter of a few minutes, he showed how the iterative process is essential for programming.

photo_2-2

At this point there were about ten minutes before recess, so we offered our students this short time to return to Hopscotch and try their hand at some more programming.  Students were quick to get set up…and were immediately focused and engaged with working with code.

photo-3

I watched them try something and then go back and make a change and run their program again.  When students showed me something they had created, I also asked them to show me the code–and in many cases asked them explain their thinking behind the code–so I can learn along with them.  When it was time for recess, we offered students a choice…they could put their iPad away and go out for recess or they could stay inside and continue their coding.  Only 8 of our 44 students chose to go out.  The rest were totally absorbed with programming on Hopscotch!

I’m working at my edge on this new horizon of learning to code with my students…and it’s uncomfortable at times.  But knowing that this is also where learning happens is exciting.  I’ll probably spend some more time on Hopscotch (or maybe even Scratch) this weekend.  If you have any coding advice, I’m happy to receive it!

Here’s a great TED Talk by Mitch Resnick, one of the creators of Scratch, explaining why students should be involved in programming.  Maybe we should all try it out!

And if it’s not coding, what new horizons are in your future?  What are you doing to find the “edge” of learning?

Making…and Learning

Making…a powerful venue for learning.

Our students have been doing a lot of making…and learning lately.  Sometimes that making looks and feels a lot like play.  And that’s a good thing.

This week we were lucky enough to have the Lux Art Institute come to our classroom with The Story Box from their Valise Project.  On Tuesday our students spent an hour examining the wood carving, block prints, and sculptures of Jim Lawrence based on fairy tales…and were invited to either write their own fairy tale or pick a favorite to create a block print image today.

Our students were excited to think about fairy tales…and write their own.  The creativity of children is amazing…their stories sometimes meander a bit, but there is no shortage of imagination and wonder.

And today they had the opportunity to create their own “blocks” for printing.  Using styrofoam sheets, they used pencils to etch indentations of their image…and even learned some techniques for writing their names and other words backwards so they would print forwards.  (They made a few mistakes…but that, too, is part of the learning process.)

Using a brayer and paint, they smoothed paint onto the surface of their etching and then pressed it onto colored paper to create their prints.

photo_1

They created beautiful images…whimsical, cute, fanciful, scary…and everything in between.

For more than an hour, my students were happily engaged with drawing, etching, painting, and writing.  They had to think critically and problem solve.  They had to practice patience as they waited their turn to paint.  They focused and produced.  They were making.  Making art.  Making stories.  Making memories.  Making connections.  Making understanding.  And they were learning.

What have you made lately?

Learning to Code

It seems perfect that this month that includes the National Day on Writing and Connected Educators’ Month is also the time when we have ventured into teaching coding to our students (and ourselves).  My teaching partner and I talked about doing this last year during our 1:1 iPad pilot…but were thwarted by the fact that Scratch requires flash and won’t work on our iPads.  We had even thought about it the year before, that but 30 minutes of computer time per week just didn’t seem adequate.

So to push myself to realize this goal of coding with my students, I have been telling people that I want to do this.  I know myself enough to know that if I don’t make my goals public, somehow it is easier to push them aside when they feel “hard.”  And In our school district this year we have a new Educational Technology teacher.  A credentialed teacher who was hired specifically to help teachers integrate technology into their teaching–in addition to the tech people in our district who help when our technology isn’t working.  I mentioned our desire to teach our students to code in an introductory meeting with the Ed Tech teacher before school began…and he was interested and excited about the prospect.

And so last week he ventured into our classroom at a perfect time to talk…and pinned me down on getting started with coding.  He would come in and get students started–using the Beebot I had purchased at the end of the summer and the Hopscotch app he had learned about.

photo

I love the way the simple, mechanical Beebot illustrates the basics of programming.  And I love that it also demonstrates how easy it is to have mistakes in your code, and the need to problem solve and “debug” through repeated trials and iteration.  My students were quick to understand the basics and very interested in the Beebot.  First graders could easily explain their thinking–and could figure out where they had made mistakes (older kids could too, and made mistakes too!).

photo-1

After exploring how to make Beebot move, we turned to our iPads and opened Hopscotch.  Similar to Scratch, Hopscotch uses interlocking blocks to make the characters move.  After trying a few moves in common and learning to make their character spin, we set students loose to explore the possibilities.

photo-2

And they began to “write” their own code!  We gave students the opportunity to share cool things they had figured out with all of us…and promised that we would give them more time to explore this app and create more code.

I don’t know any more about coding at this point than my students do, so we will continue to learn together.  And I think I am as excited about learning to code as they are.  I’m glad our Ed Tech teacher pushed us to set a date to start to work on coding with our students…and I’m glad he was there to get us started.  His checking in on our progress will also be an incentive to continue this with our students.  I have tons more to learn…but who better to learn it with than our students?

Making Art

Participating in photo-a-day means that I am always on the lookout for an interesting photo opportunity.  And even though this whole month is themed writing, that doesn’t mean that I don’t take and post other interesting photos.

Driving to work is one of those times when I keep my eyes peeled for promising places to return to for a photo or two.  Over the last few weeks I’ve noticed a house not far from my school that seems to be made of concrete.  It’s huge, looks over the ocean, and has floor to ceiling windows…obviously designed for maximum visual impact, from inside and from outside.

And today as I drove by, I noticed skeletons and zombies and other creepy things through the windows and on the deck.  I knew I would stop by later and take some photos.  When I stopped on my way home I struggled to get a photo that captured what I could see with my eyes.

photo-1

So I took this photo and used an editing app to play around with it.  Could I pull the photo in and see those full sized bodies standing on the deck?  Could I see through the windows?  Here is what I was able to produce from the picture above using the app Tadaa and the filter otherland.

photo

I love that moment when a snapshot becomes a piece of art.  I wonder if that is what the owners of that house also had in mind?

Making Rockets and More…

I spent yesterday at UC Davis at a conference we threw for ourselves to celebrate the 40th anniversary of the California Writing Project.  The conference was an opportunity to teach each other strategies, structures, and approaches that we find successful at our local writing project sites across the state…and to learn together.  And we did that…and more.

At lunchtime there was an informal “making” session led by the director of the Northern California Writing Project.  Using transparency film (Finally!  A practical use for the boxes of the stuff schools have sitting around since document cameras have replaced overhead projectors.), colored electrical tape, cardboard, and hot glue, we crafted rockets (using a piece of pvc pipe as a mold).

photo_3

We would then test them by firing them from a bicycle pump, air powered launcher.  (Directions on Instructable…here) You’ll notice we sealed the tops and taped around them in hopes they would soar…rather than explode.

photo_2

When our rockets were ready, we headed outside with the launcher and our rockets to test our creations.  We had to place our rocket on the launch pad and then pump with the bicycle pump to build pressure in the system.  We aimed for between 50 and 60 pounds of pressure.

photo-4

After pumping, we pressed a button to release the pressure into our rockets and… POW!!! They shot high into the air and then turned down to land in the grass.

photo-5

I’m looking forward to offering my students more opportunities to build and test and tinker.  They might be building and launching rockets some day soon.

And building these rockets in much like the work we do in the writing project. At the San Diego Area Writing Project we build programs to support teachers and students with writing and writing instruction.  Then we test them out, paying close attention to how they “fly”–what design elements are working, where do we need to tweak our design?  What can we do to help these programs and approaches meet the “mark” we are aiming for?  And then we continue to tinker. How can we make this work better?  What improvements are needed?  Which teachers and students are we reaching?  Who is missing?

I had a lot of fun building and testing rockets with my friends and colleagues yesterday.  And I love building and testing programs for teachers and students.  Writing itself is a lot like building a rocket.  Writers need opportunities to compose and test, get some feedback, and then tinker (or start over) until it gets closer to the desired target.  Sometimes it takes some tangible tinkering with rocket design to remind me of all the tinkering that happens in my life and in my classroom and in our writing project.

So, go out and tinker today…  What rockets have you launched lately?