Category Archives: digital tools

One Shot, Two Ways…Revision, Photo Style

One of the benefits of blogging is that other people like and follow my blog…and when they do that I often take a glimpse at what they are blogging about–it’s a lot like my experience with the CLMOOC.  Yesterday shotwithmyphone.com liked my blog post and I spent some time perusing the photos he posts…all shot with his iPhone (like me!).  One of his posts was titled One Shot, Two Ways and is part of a challenge posted here.  The challenge invites photographers to take two photos of the same shot–one with a vertical orientation and one with a horizontal orientation and to post them side by side.

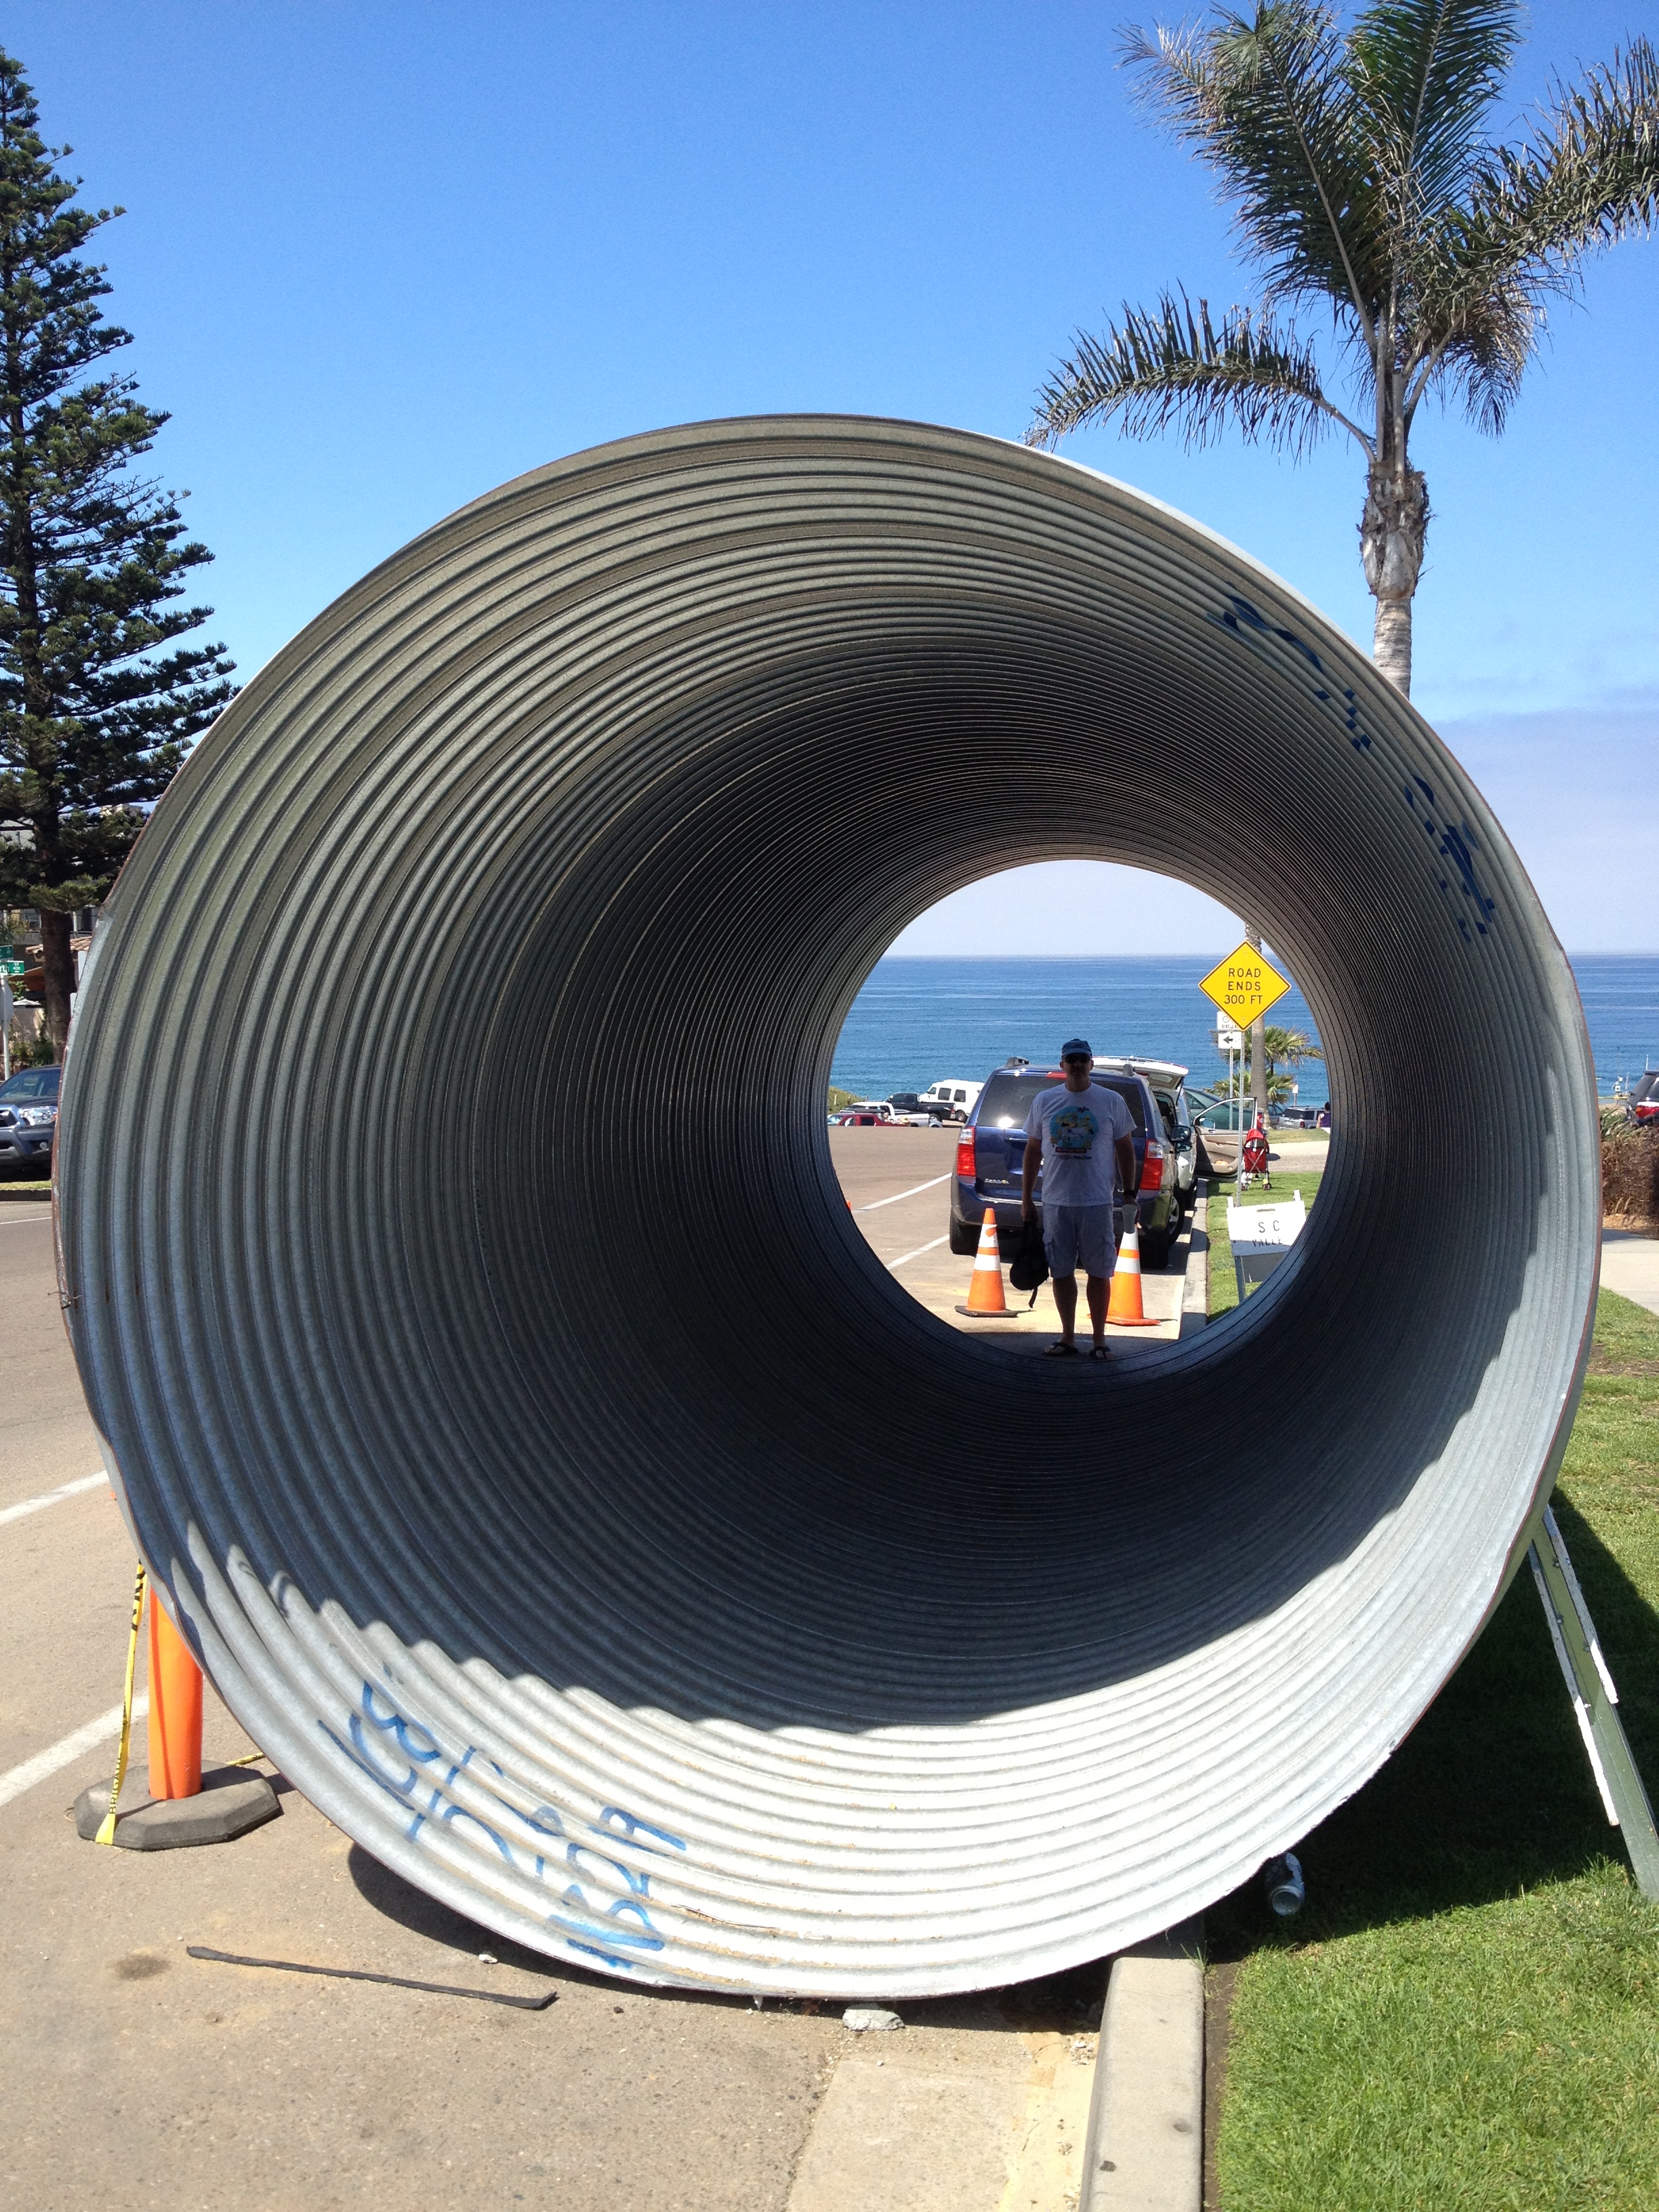
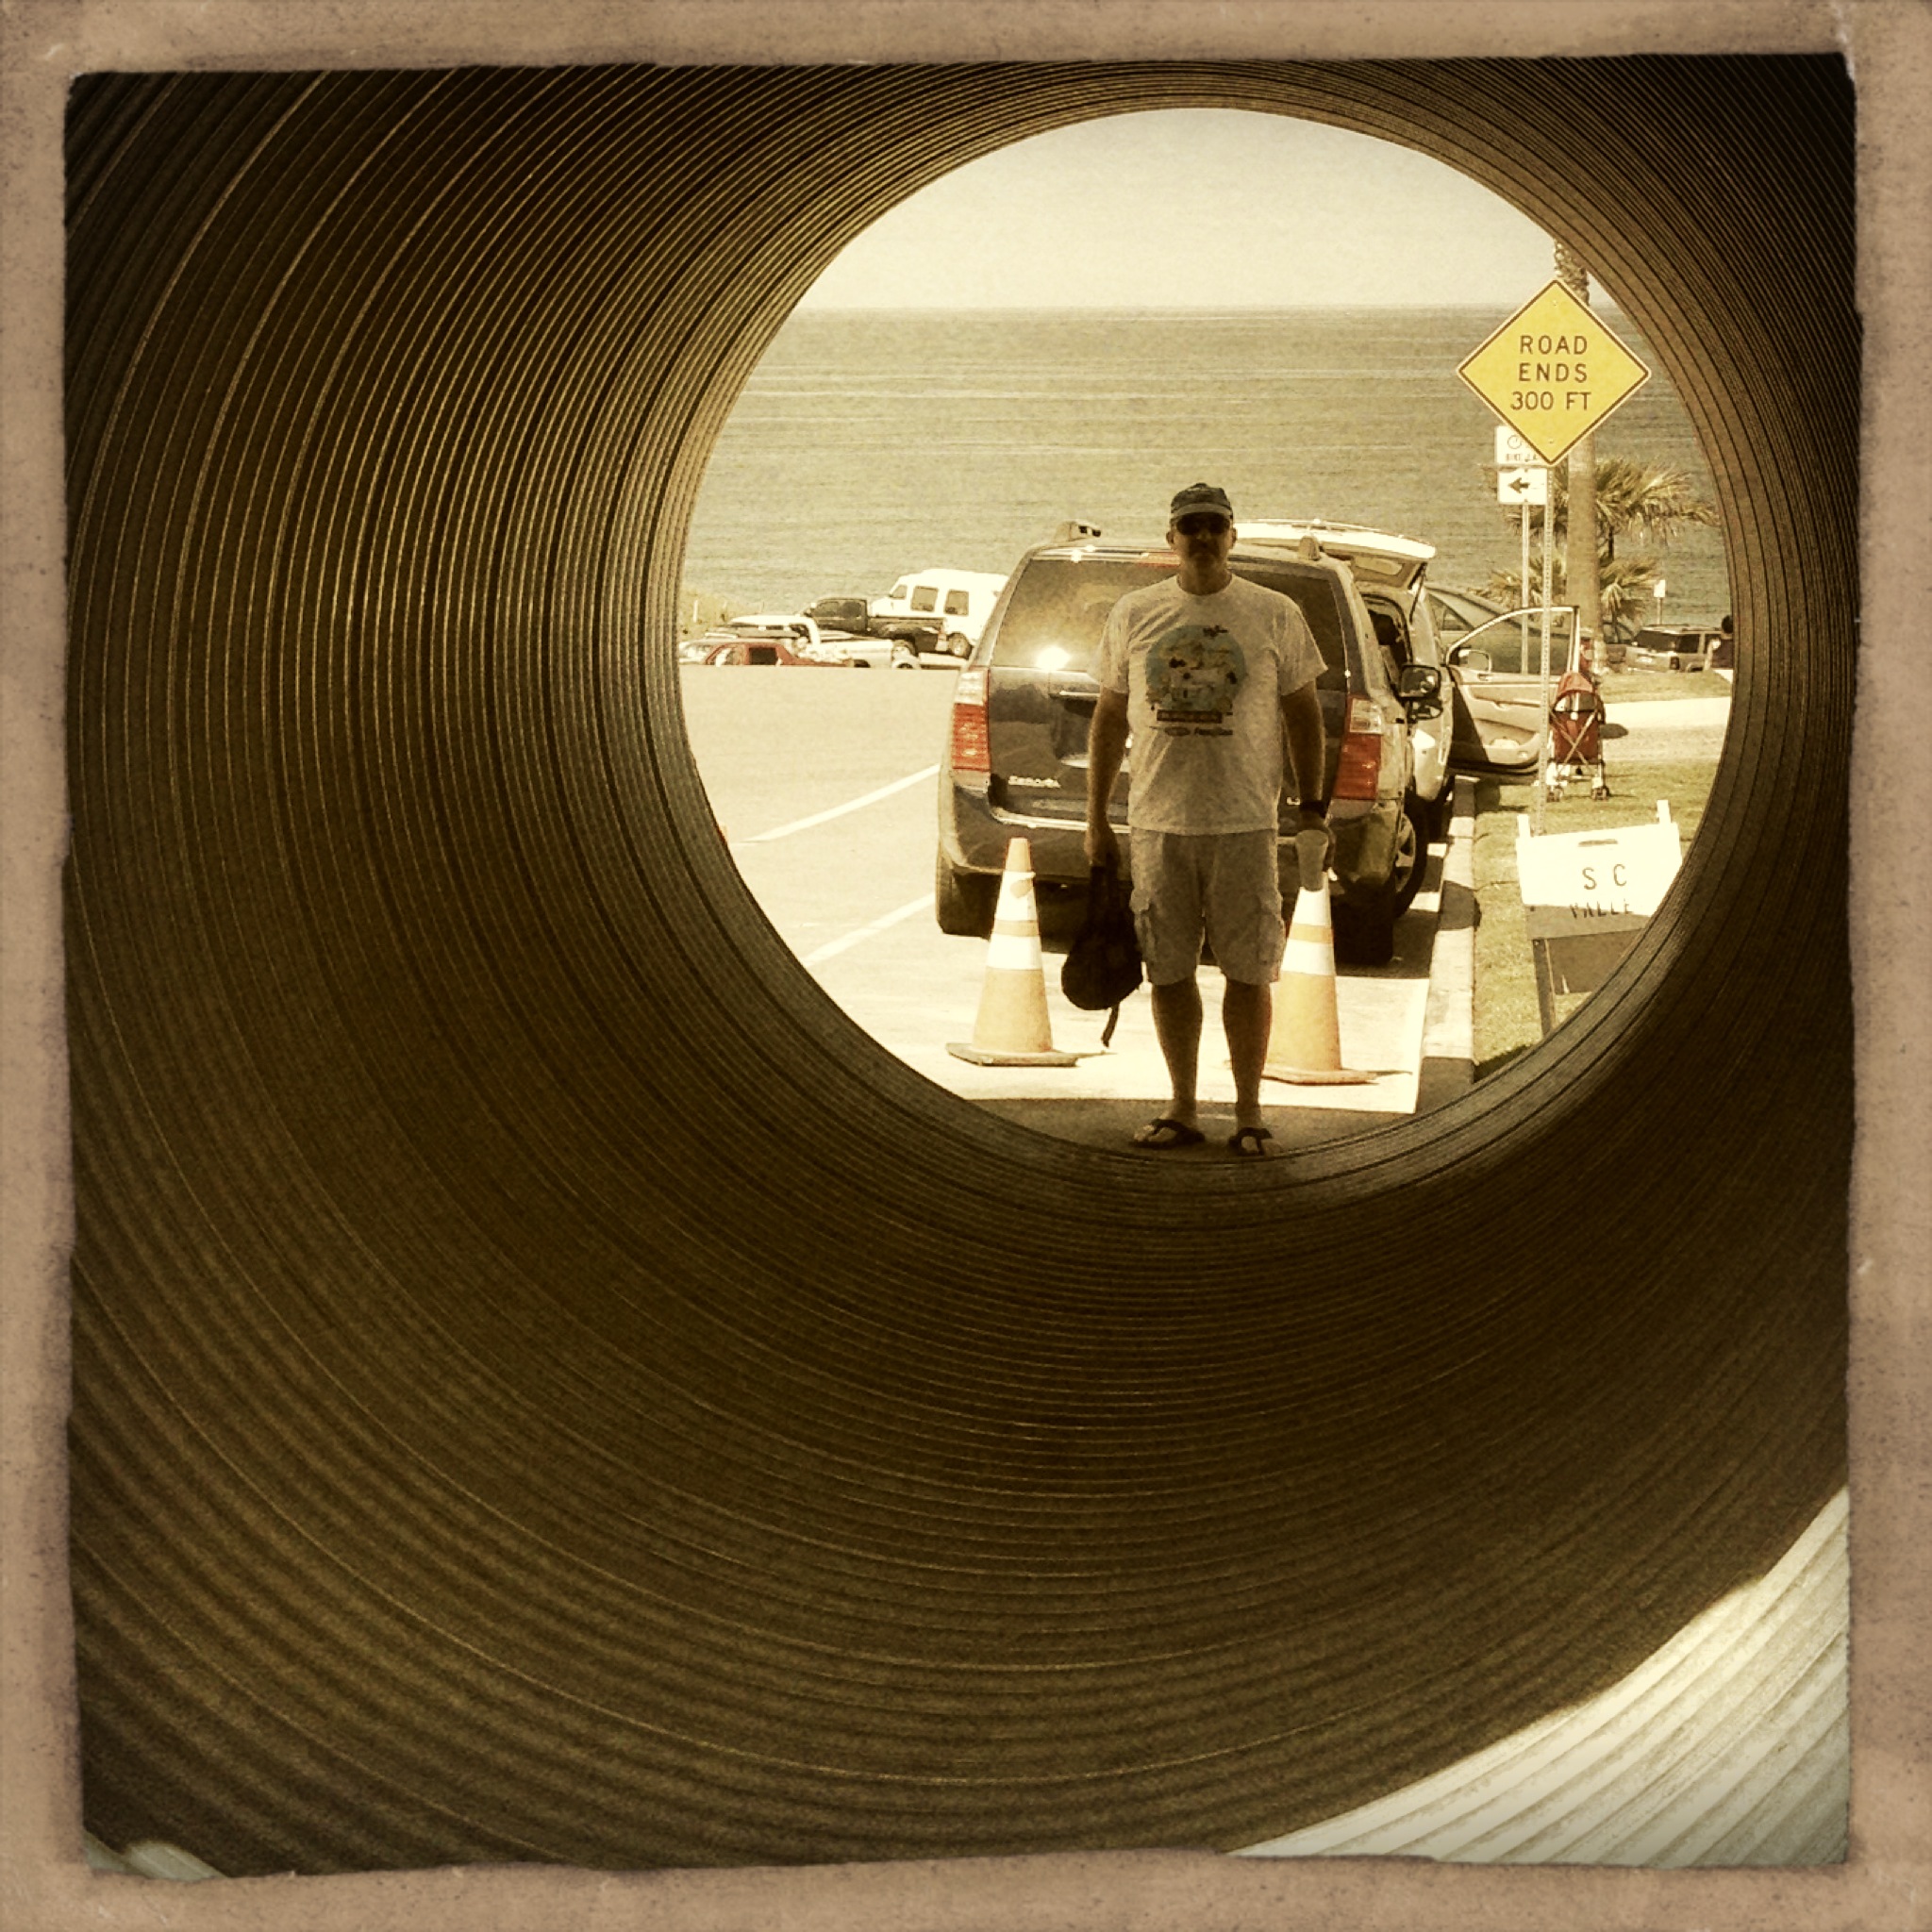
Inspired by those ideas (and looking at a few photos) I decided to try a variation on that theme and show two views of the same photo–one original and one with some editing and filters applied.  In some ways the editing process I apply to my photos feels a lot like revision in the writing process.  It’s the part of the process where I zoom in (or out), crop out distracting details, brighten up the setting, or change the mood.  In many cases, revision in writing and editing in photography transforms the end product and helps the reader/viewer see it differently.

Here’s are a couple from my beach walk on Sunday:

photo-12pipe

photo-10turtle

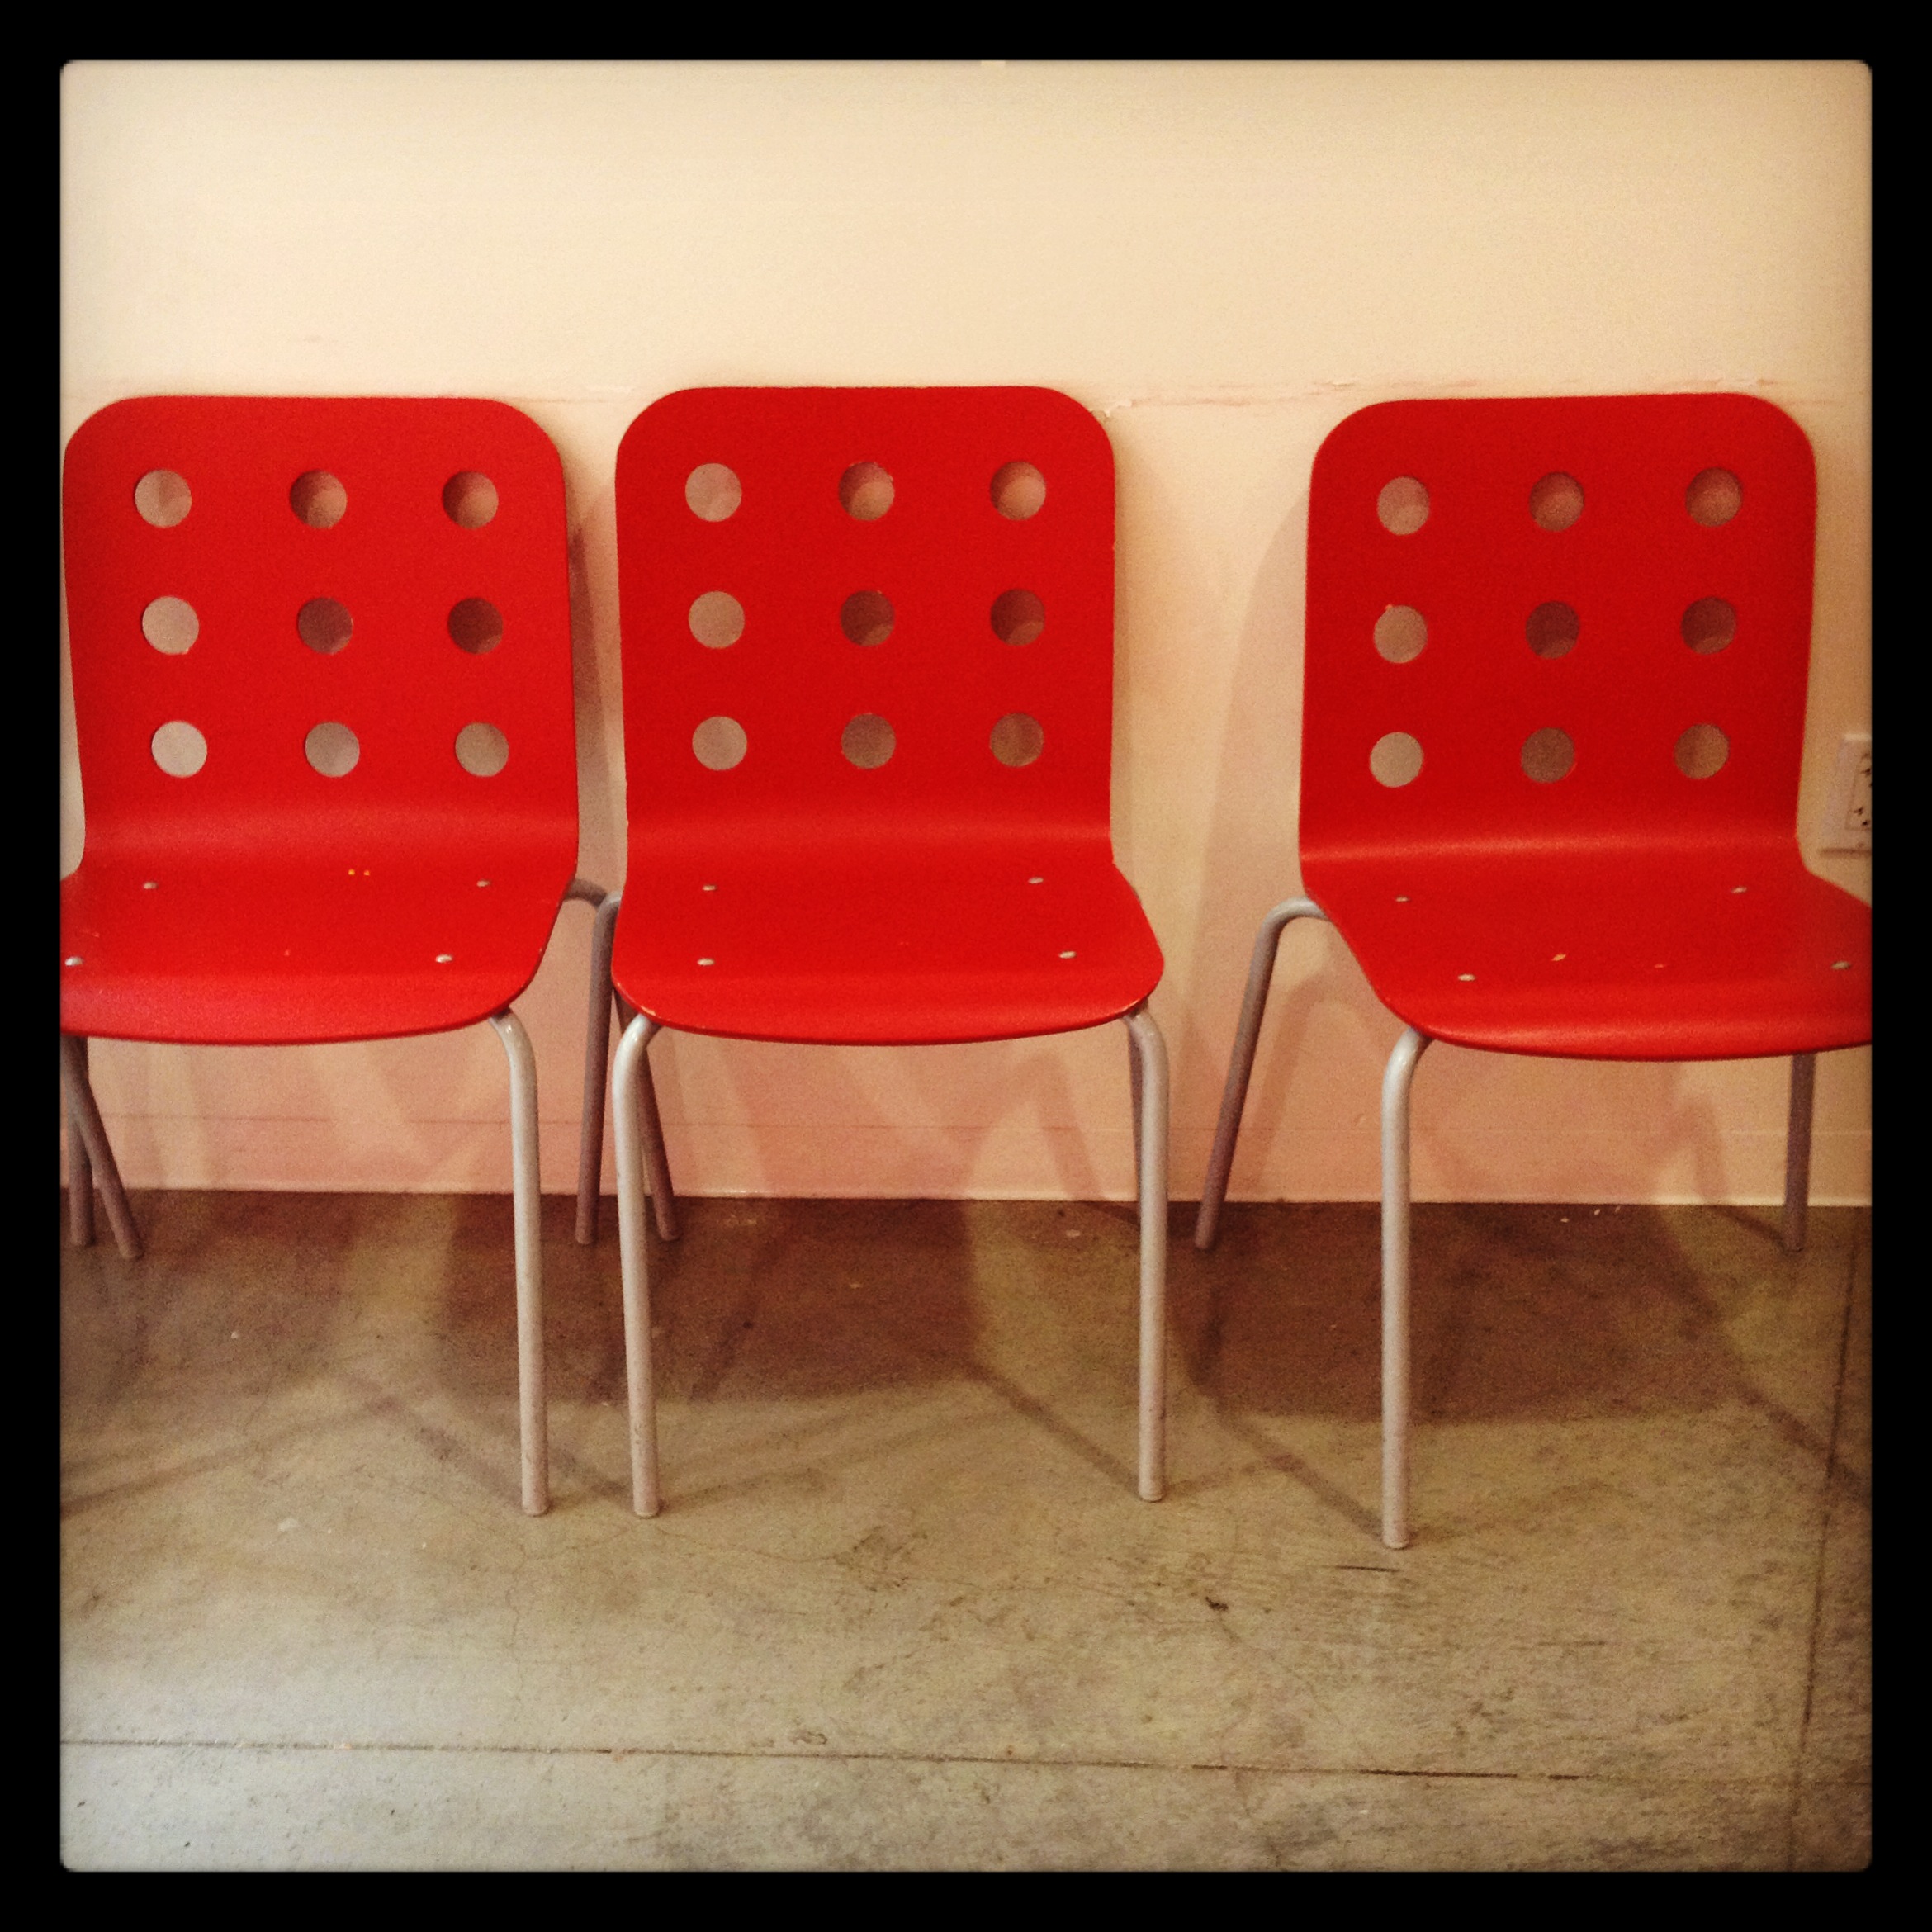
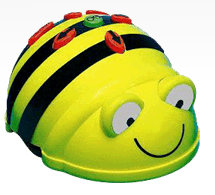
And here’s a couple from yesterday’s excursion to the Living Coast Discovery Center:

photo-13photo-14

photo-11photo-1

There are times when I post my photos without editing, but I like experimenting with how to take a photo and work with it to convey the message I have in mind–or one that emerges as I play with it.

What do you think?  How does the editing change the way you see the photo?  How does it change the message of the image?  How does this relate to writing and writing instruction?  I’d love to know your thoughts!

Carousel Horses: What Stories Do They Tell?

With my photography this week, I have been focusing on curves.  And somehow, when I am out taking pictures that concept/word “curves” keeps getting translated in my head to “round.” Now I know that round and curves are related–that curved surfaces often result in roundness. So yesterday when I parked for a meeting in Balboa Park–our city’s urban park–the carousel immediately drew my attention.  I could hear the festive music as the merry-go-round started its trip around and around.  I took a few pictures as I thought about this curved trajectory and the combination of movement around and up and down.

horse

I like the way this photo (with no filters applied) shows the movement of the carousel horse.  I can also see the curved lines above.  The people riding–adults and children–were energetic, giving off that feeling of summertime fun.  I decided to move to my hipstamatic app–and dialed a couple of film types and lenses.  One of them, this gangsta lens creates a round frame.

photo

And while the curved frame works for my photo-a-day theme, what I love about this picture–and I knew it when I tapped to take the picture–is that somehow I had caught the guy with the while cowboy hat in the frame.  In some ways this particular picture feels timeless–the “tough” guy in the white cowboy hat (doesn’t that make him a hero?) with the white t-shirt and jeans on a carousel horse with the young woman nearby.  He’s on the outside so he can reach out for the brass ring, showing everyone his skills on this classic summertime ride.

photo-3

This third photo is another hipstamatic photo using Americana film and lens that gives a retro feel to the picture.  It also gives the sense of movement–but doesn’t have the same feel of summer as the other more colorful photos.

I’m wondering how photos like these might prompt my students’ writing and storytelling.  How does the visual invoke the powers of imagination?  What evidence is contained in these photos that leads to character development?  An advertisement?  An argument of some sort?  Where would you go with one of these photos as a prompt?

The Silent Hand of Design: August’s Photo-a-Day Journey

I’m now just a few days away from a full year of participation in photo-a-day.  This daily practice of taking intentional photographs and posting each day has had a profound effect on my photography skills–and on my powers of noticing in the world.

For the last few months, my #sdawpphotovoices friends and I have been exploring different prompts to push our creativity.  We’ve been inspired by Picasso and Neil Gaiman and last month we spent each week focused on a single color.

I recently came across this Ted Talk by Rob Forbes who talks about design within reach.  He takes about 5000 photos each year, capturing interesting design elements.

I love the idea of the silent hand of design uncovered in the photos he takes.  Unexpected patterns and textures, angles and curves, symmetry and technology pop up in our everyday lives when we take the time to look.  Forbes suggests that the first job of design is to serve a social purpose and that the best design preserves diversity and culture.

For the month of August, let’s focus our photography on design.  Each week we will focus on a different element…and at the end of the week we’ll reflect on our photographs and curate our own observations and learning.  (I am cross-posting this at SDAWP Voices where Barb will create a link up for us each week)

photo-4

Take a picture each day that somehow captures the design element and post it to Instagram, Twitter, Facebook, or Flickr using the hashtag #sdawpphotovoices.  (You can post anywhere—if you want others to be able to follow your photos, Instagram and Twitter are best!)  For more information about posting click here.  At the end of each week let’s add an additional challenge:  curate your pictures from the week and select one to highlight.  You might post it on your blog along with some musings about why you selected it.  If you don’t have a blog of your own, you have a couple of choices—you can create a blog (be sure to share it with us by including your blog address in the comments here—or better yet, tweet it using the hashtag #sdawpphotovoices) or you can post to the SDAWP Voices blog.

August 1-4:  symmetry

August 4 or 5: reflect on your week and share your thinking and picture (or collage) on the link up

August 5-11:  curves

August 11 or 12:  reflect on your week and share your thinking and picture (or collage) on the link up

August 12-18:  angles

August 18 or 19:  reflect on your week and share your thinking and picture (or collage) on the link up

August 19-25:  patterns

August 25 or 26:  reflect on your week and share your thinking and picture (or collage) on the link up

August 26-31:  repetition

August 31 or September 1:  reflect on your week and share your thinking and picture (or collage) on the link up

As an extra invitation, at the end of the month, pick your five favorites to inspire a bit of writing or art or something else you want to make.  Be sure to share your creativity and what you discover through the process.  I can’t wait to see what our focus on design elements will reveal!

Find Five Friday! Digital Tools

Today’s post comes from Anna’s invitation at #clmooc to participate in Find Five Friday! (or maybe find five futures).  I’ve had a week filled with digital tools…and thinking and conversation related to them.  Here’s my curation of five (in no particular order):

photo

iBooks Author

This tool came to light as I worked with a group to find an appropriate platform to serve the resource being developed at the NWP Resource Development Retreat.  We wanted something skimmable, flexible enough to hold a variety of digital artifacts (video, pdf files, images, links,…), shareable, editable, and something that looks good.  My colleague Beth was able to experiment with iBooks Author and create an early draft of the resource envisioned.  Previewing it on the iPad showed it to have many of the features we were looking for.  Were there glitches?  Of course…and there is a learning curve (which I have not yet mastered!).  My biggest disappointment is that you have to use a MAC computer to create with iBooks Author–it isn’t available for creation on the iPad–you can only read (be a consumer) there!  I wanted to have my students use this tool.  Anyone have other suggestions for a similar tool for use on an iPad?

Thinglink

If you’ve been on my blog before you know that I love iphoneography and love to use photos to convey information.  Thinglink is a tool where photos can be tagged with other media including text, video, links…  It includes an embed code so thinglinks can be included in other platforms…think Google Earth or your own blog!  I learned about this at a CUE Rockstar training this week and then found this great resource from Richard Byrnes at Free Technology 4 Teachers.  I’d love to know what you’ve done with this or similar tools!

iPhoneography editing tools guide by Nicole

This is another resource that I learned about at CUE Rockstar.  (The presenters developed wonderful pages of linked resources associated with their sessions.)  Nicole (who was not the presenter) has put together this amazing pinterest slideshow that highlights not only the tool she uses for editing her photos, but some of her thinking about why she wants to use the tool…and includes samples of her amazing photos.  Thanks Vicky for pointing me to this!

Tagging and custom searches for student bloggers by Kevin and Bart

My work with Connected Learning and the clmooc this summer has pushed my thinking about my students’ blogs and how to help them connect with other students for meaningful comments not just from the adults in their lives, but from students all over the world.  Bart had some ideas about tagging and embedding the classroom lessons that inspire the blog posts to help students from other places have some context for their responses and interactions.  Kevin then suggested the idea of a custom search for student bloggers to connect with other student bloggers with similar interests.  Brilliant!  (Now to put this into action!)

Bee Bot and Tynker

I’ve been thinking about coding and how I might help my students think about the work behind the digital tools they use.  I’d heard about lots of tools/games out there for students–Scratch from MIT and Gamestar Mechanic, for example.  And I’d messed around a little…  My students have iPads as their classroom device, so I really want to have something they can do with coding on the iPad.  Today I learned about a few possibilities to try out.  The first one surprised me–it is a little robot-like toy called Bee Bot (not for the iPad–just a little battery powered toy).  This little bug can be programmed with up to 40 moves (like the arrow keys on the computer) and can make 90 degree turns.  I can think of so many ways this little robot can introduce my students to the fundamentals of coding (and they can create their own games to review other concepts too!).

Screen Shot 2013-07-26 at 4.16.13 PM

I also learned about Tynker.  It’s not an iPad app–but since it doesn’t rely on flash it will play on the iPad.  Tynker is very similar to Scratch with the linking blocks that students arrange to make their actors move on the screen.  It’s set up for teachers–you create an account and can follow up on what students accomplish.  I’ve only begun to experiment–but I’m excited about the possibilities.  I love the way you can see sample projects–and look at the code (in interlocking blocks) behind it!  I’d love to know if you have tried any of these tools–how did they work for you and/or your students?

I think that is already 6 (or 7) and I really want to include one more–Touchcast–an iPad app for making video with embedded real time apps (check out the little video link above).  More on that to come!

What are your favorite digital tools?  What are you currently exploring?  How will you use them in the classroom?  Teach with them?